Hello Audified friends,
Do you sometimes find yourself wandering in the realms of your recent mix, in the latter stages of its development, that is, thinking about why it sounds so flat, lifeless, and somehow evocative of such unpleasant adjectives?
Using your reverb generically and, in a way, automatically may be one of the reasons.
Many of us have our favorite reverb plugins and presets and just put them on desired tracks and consider the thing done. You know your verb of choice sounds epic on all drum kits every time, right?
But first, a little bit of context.
There was a time when reverb was just a natural acoustic phenomenon. There were no plugins in the studios. Heck, there were even no studios! There was just a cave, a city hall, or a church full of natural surface-driven reflections. After the early stages of audio recording history, there came a time (the late 1940s) when the studios used a stairway, bathroom, or later a dedicated room as a reverb chamber. Meaning placing a mic in there, possibly a sound source (if they were not doing a live capture of music playing next door), shutting the door or didn’t, and recording the natural reflections occurring in the chamber.
In the late 50s, German company EMT built the first artificial reverb unit. The EMT 140 Plate Reverb. It was quite a big device (a couple of meters long), which imitated the natural reflections by sending the audio signal through thin metal plates suspended by springs attached to the reverb frame. The engineers then mixed the reverb signal with the dry audio to create the effect.
So now you know a bit of history, but how does it relate to the formerly stated problem?
The key here is to picture what the reverb really is and how our mind traditionally perceives it. We associate it with spaces existing in reality. For example, an orchestra playing in a large cathedral, a guitarist ripping in an 80s stadium, or a jazz trio playing in a small room. And so forth.
However, how to bring your mix to the next level regarding reverb when mixing in the box?
Instead of randomly messing around with the parameters of your plugin, start with a specific space in your mind. You may say: I want this acoustic guitar to sound like placed in a cathedral. Or: This lead vocal should sound like sung in a small club. See? Now you have a plan for that track 🙂
Many plugins include particular presets imitating existing spaces; this can be a starting point. But you can do much more. The great idea is to find recordings done in such locations, say on YouTube, and listen closely to the particular room characteristics. How large is the room? What is the predominant surface for sound to reflect off? Is it rather dark or bright sounding? It is not black magic. You can do it even without being an acoustical engineer 🙂
The great thing you can do, which served me well many times, is to imagine yourself in a defined space during the mixing. For example, you can imagine listening to the drums from the other room when creating additional drum bus reverb. You can even put on your unaffected track, increase the volume of monitors, and go to the other room for a while. Then you can try to imitate what you heard. This way, one gets closer to the real deal than just turning the knobs.
Unless you intend to imitate an ensemble playing together in a particular space, it is often a great idea not to imprint the equal reverb on every track in the mix. When listening to the song, decide on its reverb roadmap. Say to yourself: I want the drums to be garage/rehearsal room sounding. I imagine the guitar drowning in cave-like reflections and the vocals sounding close to the listener. This way, you will differentiate the environment of particular tracks and make them more distinct, making the song more interesting in terms of audio space usage.
In case existing spaces do not excite you, create your own! However, do not start randomly. You can imagine the space attributes based on what we mentioned. Use your imagination and acquired knowledge, and put it like this: The space is giant, the reflections have to travel a long distance, but it has felt walls; therefore, it is dark sounding, and so on. It will help you create a purposeful and believable virtual space for your music to live inside.
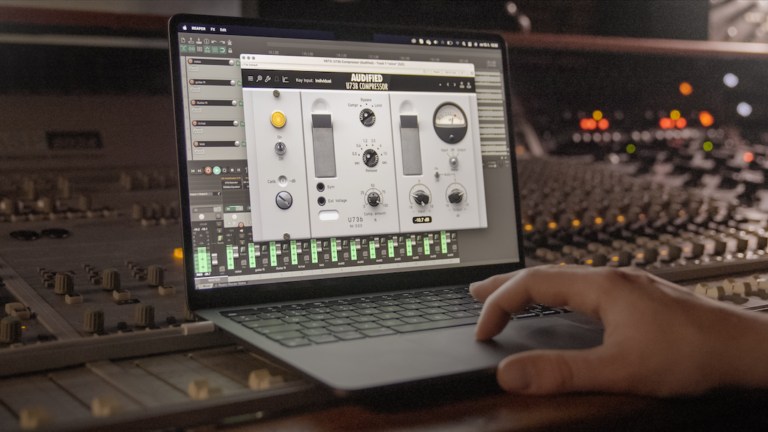
You might be new to this, so let me explain. We use time-based effects such as a reverb mostly in parallel. That means they are blended onto the main track only by a particular amount, for example, 70% dry and 30% wet. Therefore 70% of the original signal is not affected, and only 30% is. If you have a plugin directly on the track you work with, achieving the outcome by the mix or blend parameter in the plugin is common practice. Most reverb plugins have these. But you can also create a dedicated effect send or auxiliary track with the reverb engaged in 100% wet mode. This way, you have your reverb on a dedicated fader on your virtual mixing desk, and you can add or subtract its volume as you desire. It is a great way to do it because it is on hand during the process, and you can alter this reverb track in many more ways.
One of many reverb attributes is that it often alters the timbre or EQ of the source soundwave. Imagine you are in a bathroom. You sing aloud during the mourning routine or listen to the boombox there. The small space of the bathroom and the hard surfaces of the often tiled walls make the audio sound brighter, sometimes even shrill. The reflections happen quickly, and there is no surface to act as absorption. When working on your 100% wet reverb send, you can follow the verb with an EQ plugin like RZ062 Equalizer, part of our Boutique Studio Bundle, and change the EQ curve. Say you high-pass it high, maybe around 350Hz, then boost it around 5-10kHz. Does it start to sound bathroomy to you? 🙂 This way, you can change the frequency characteristics of your verb independent of the source track. And by that, you can achieve a vast spectrum of differently-sounding results even with the same settings on your preferred reverb plugin.
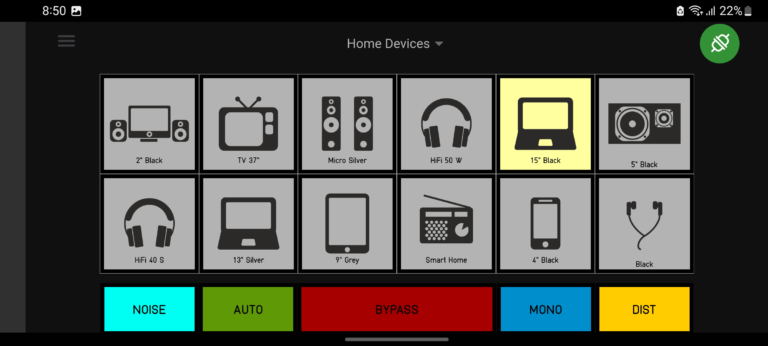
Often overlooked aspect of particularly older mixes and, at the same time, a great asset of more experienced mixing engineers is that they can masterfully detect what tracks to reverb and what not to. Some do not need it. Or let me restate: Not every track in every mix needs reverb. Even though we all love to use reverb, it is, first of all, an effect. And most of them shine the best when put side by side with something unaffected. This way, both tracks have their place, space, and something special to offer. So our last tip for today is to choose a single instrument from your mix (the short and tight percussion instruments work great for this) and not reverb it. You will be amazed at what just a single dry track can do. You can also use our Mixchecker Pro to check your mix on multitude of devices.
So here you have it. These are our tips to make your reverb work more purposeful. We hope they will inspire you to think about reverb differently and help you bring your mixes to another level.